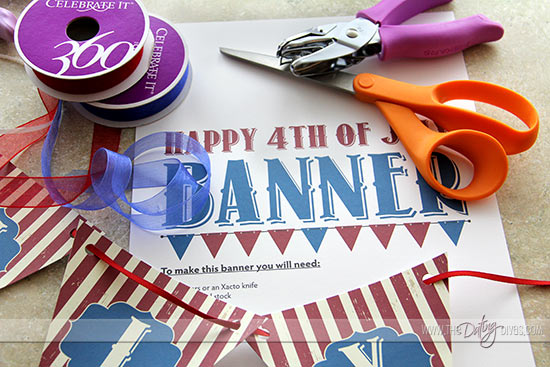
Disclaimer: This post contains affiliate links. To learn more about ’em, click here. To get started, gather some supplies. You will need to download and print out this 4th of July PRINTABLE, designed by the talented Larissa of Larissa Kay Designs. You will also need:
Scissors (or some type of paper cutter) Foam Tape Ribbon (You can use various colors, preferably RED, WHITE, and BLUE! Isn’t this patriotic pack too cute?) Hole punch
To assemble this Red, White, & Blue banner beauty, simply:
Cut out each triangle pennant from the printable.
Then, punch holes on each triangle so you can thread a ribbon through the design. Find the circle guides at the top of each triangle to know where to punch.
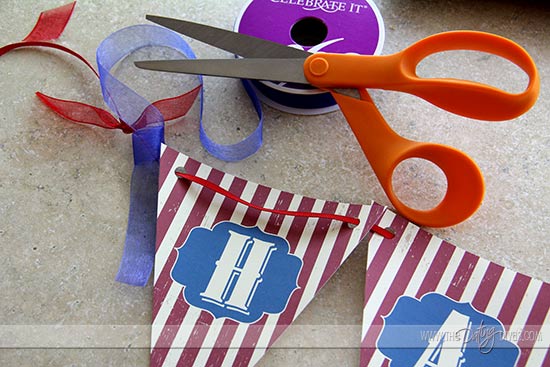
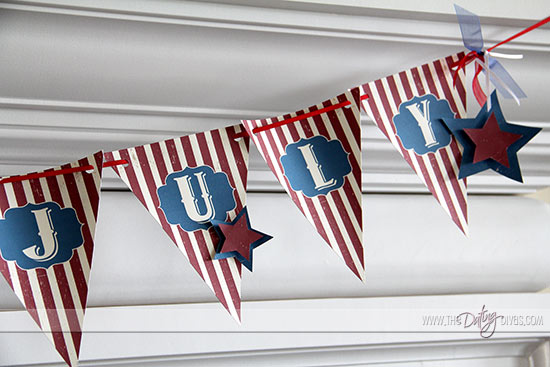
Thread a long piece of ribbon through each triangle. You will need about a 6.5 ft span of ribbon for the entire banner, which leaves a little on each end to be able to tie it anywhere. I alternated: one triangle had the ribbon running along the front of the pennant while the next one had it threaded through the back.
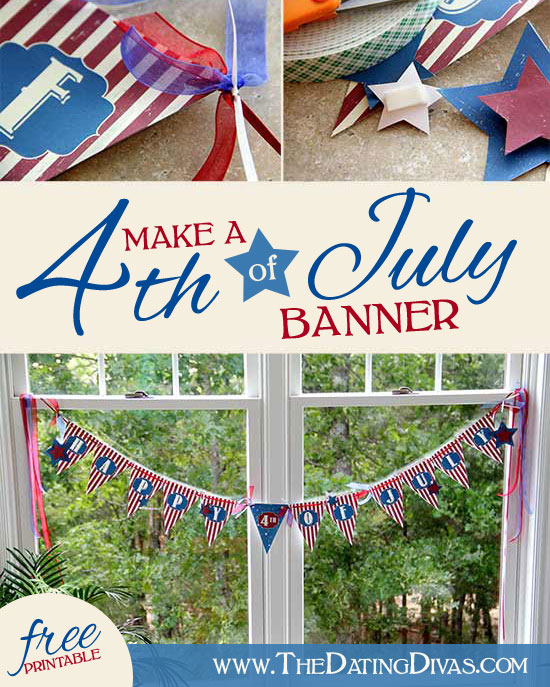
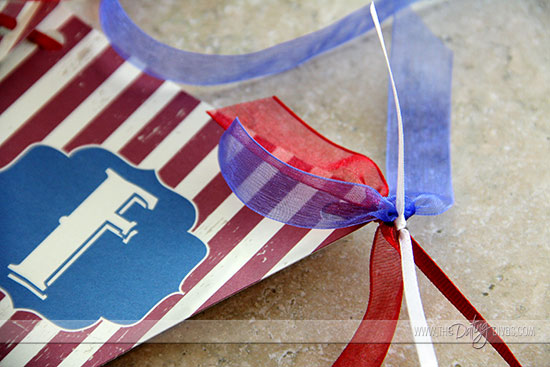
Add ribbon embellishments at various points along your banner. For this look, you only need a small piece of ribbon to tie in a double knot. Then, scrunch these ribbons close together so they look like a cohesive unit.
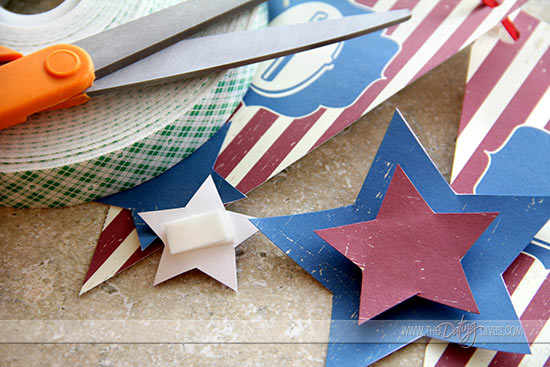
Cut out various stars included in the printable.
Option: Use foam tape to layer each star- it will make your banner dimensional!
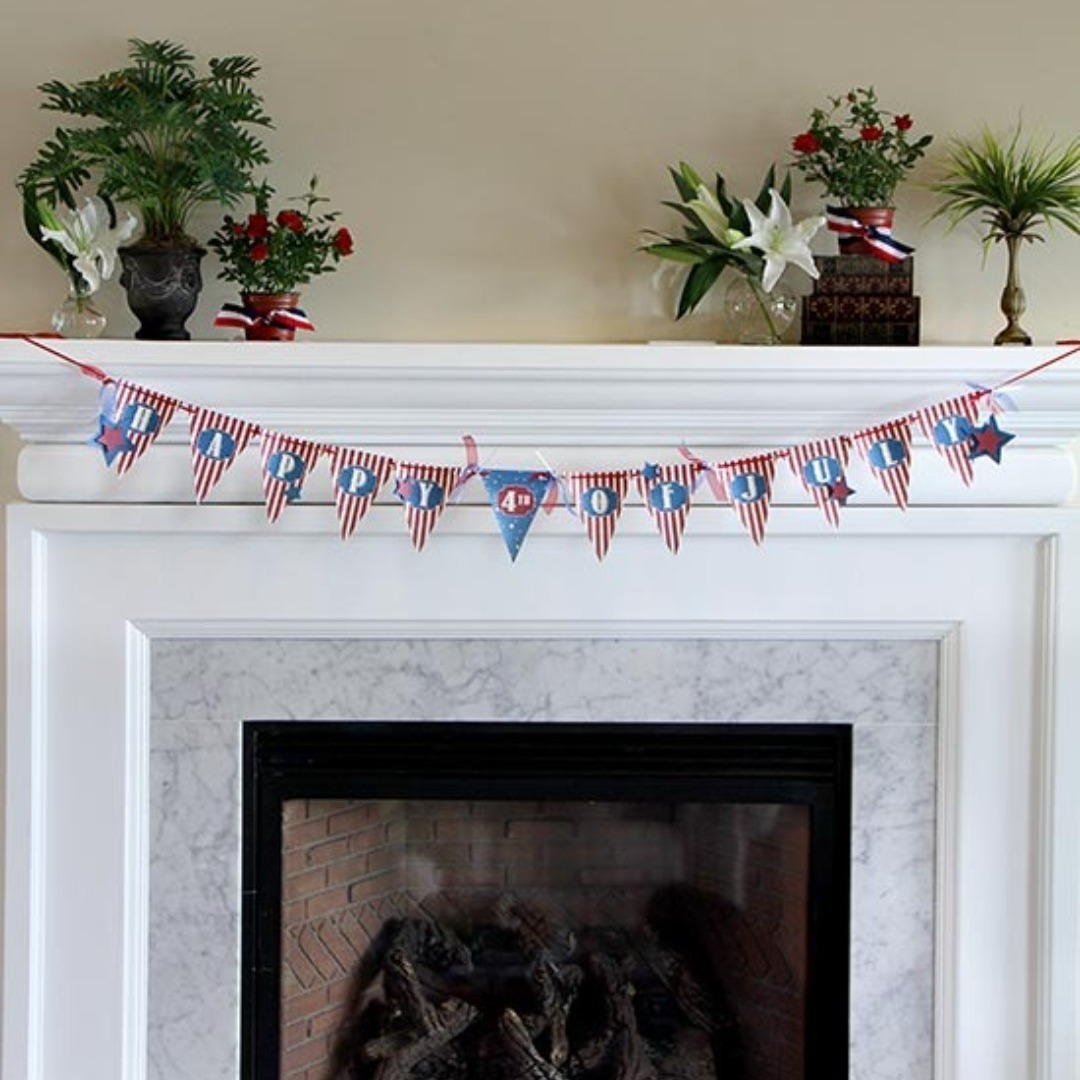
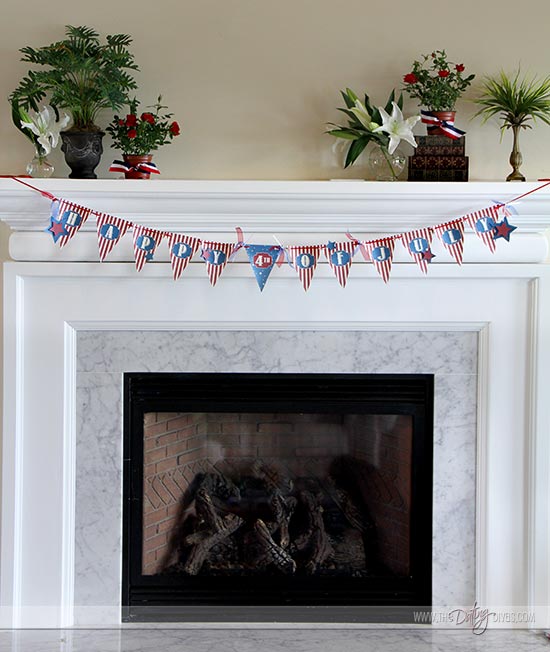
Attach your star pieces to your banner. *Note: Larissa included 2 blue pennants in the printable on Page 8. Feel free to incorporate these cuties to separate your words or place at the beginning/end of your banner. If your banner needs to span a considerable distance, incorporating these blue pennants is a great way to make it a little longer. There you have it… fun DIY decor in a matter of minutes!
This cute home decoration would look great along a window or fireplace!
